
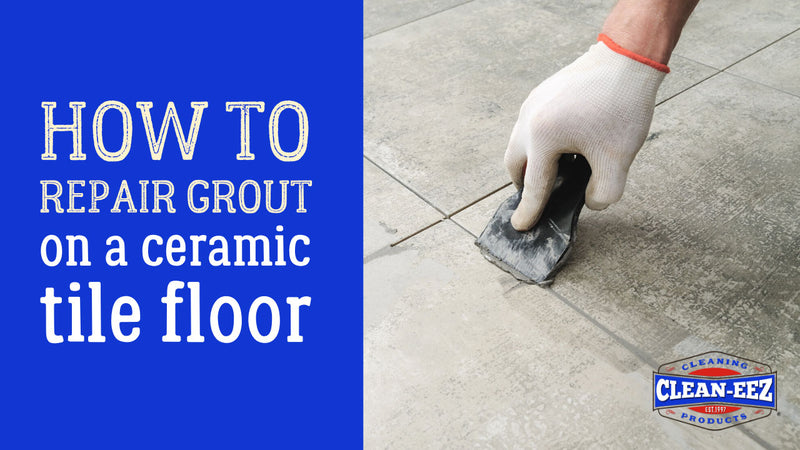
Those cracked and broken grout lines really impact the appearance of your ceramic floor. And they effect its functionality, too. Grout has a job to do, and if it’s missing or fractured, it isn’t doing it.
Most grout is a mix of cement, lime, color pigment and sometimes sand that hardens when mixed with water and left to cure. Grout gives a crisp, finished appearance; it helps keep dirt and debris from getting in between and under your tile, and it adds rigidity and strength to the tile installation.
It’s important and it needs to be taken care of. The good news is that grout repairs are simple. A small investment of energy pays big dividends. Your floors will look brand new.

GETTING THE OLD GROUT OUT
The first step is to remove the remaining grout. There are three tools you can use: an angle grinder, an oscillating tool or a manual cutting tool. The oscillating tool is probably the best choice, depending on your level of comfort and experience with power tools. It vibrates back and forth and has a diamond bit. It’s used with a vacuum to keep the site free from debris. Scrape the grout out of any broken grout lines and vacuum up the dust.
Check the surrounding tiles and make sure there are no loose spots. Knock on them and listen for hollow sounds. Any loose tiles will need to be reset.

GROUT AND JELLY?
Mix the grout according to package directions. A rule of thumb is that it should have the consistency of peanut butter. (But don’t eat it.) It should be thick but still pliable and loose without being watery.
Use your fingers and push the grout in between the tiles. Push it firmly into the crack; it’s okay if you overfill the space. You’ll form a channel and wipe down the excess after it dries a bit. Let it set for a few minutes and then wipe the area down with a damp cloth, which may cause a haze to appear on the tiles as they dry. Let it dry again, and wipe it down one more time. Use your finger to smooth out the grout lines and make them an even depth with the others. Now we let them cure!
If you aren’t able to wipe the surface down within a half hour or so and the haze forms on the tile and sets, Grout-eez will remove it easily.

TRUE COLORS
This is important: make sure you match the grout color to the original color of the grout, and not to the dirty grout. Look inside a closet, a pantry or in a less-traveled area to find the true color of the grout and use that as your guide. If you match the dirty, well worn grout, then you’ll have a two-toned effect if you ever clean the grout.

WON AND DONE
Congratulations! You’ve done a repair that took a total of five to 10 minutes of work with a half hour drying time, and you’re good to go! This is a small project with a big payback.
Count on Clean-eez for rock-solid advice about how to clean your stone surfaces.
Thanks for using Clean-eez products. Remember to match the cleaner to the type of surface.


0 comments